
 https://capitalconstructiongrp.com/wp-content/uploads/2026/02/The-Complete-Guide-to-Hiring-a-General-Contractor-for-Commercial-Construction-Projects.jpg
1250
2000
Abstrakt Marketing
/wp-content/uploads/2024/10/ccg_blue_transparent.png
Abstrakt Marketing2026-02-23 11:12:132026-03-13 13:23:52The Complete Guide to Hiring a General Contractor for Commercial Construction Projects
https://capitalconstructiongrp.com/wp-content/uploads/2026/02/The-Complete-Guide-to-Hiring-a-General-Contractor-for-Commercial-Construction-Projects.jpg
1250
2000
Abstrakt Marketing
/wp-content/uploads/2024/10/ccg_blue_transparent.png
Abstrakt Marketing2026-02-23 11:12:132026-03-13 13:23:52The Complete Guide to Hiring a General Contractor for Commercial Construction ProjectsYour All-Inclusive Commercial Office Renovation Checklist
Preparing for a commercial office renovation is no small task. It’s an investment in your business’s productivity, image, and long-term success—but without a clear roadmap, the process can quickly spiral into delays, unexpected costs, and headaches you didn’t ask for. Whether you’re refreshing your existing layout or planning a complete overhaul, following a strategic plan is essential.
This all-inclusive commercial office renovation checklist is your step-by-step guide to navigating the renovation process with confidence. We’ve broken it down into manageable phases so you can stay organized, avoid common pitfalls, and make smart decisions every step of the way.
Step 1. Define the Vision and Objectives
Before you start tearing down walls or picking out new flooring, step back and define the purpose of your renovation. Ask yourself:
- What’s the primary goal? (Modernizing? Improving workflow? Expanding?)
- Which areas need to be prioritized—client-facing spaces, employee work zones, or back-end operations?
- Are there branding opportunities you can integrate into the physical space?
The clearer your vision, the easier it becomes to communicate that vision to stakeholders, your renovation contractor, and your design team.
Step 2. Set a Realistic Budget
Let’s not sugarcoat it—budgeting for office renovations can make or break the entire project. Establish a budget early, and be realistic about both your must-haves and your nice-to-haves.
Make allocations for the following:
- Construction and Materials
- Design and Architectural Fees
- Permits and Approvals
- Furniture and Fixtures
- A Contingency Fund (10–20% is a solid rule of thumb)
The key is clarity. Know where your money is going, and leave room for the unexpected—because in renovation, the unexpected tends to show up uninvited.
Step 3. Build a Timeline That Works for You
A well-structured timeline keeps your project on track and your team sane. Your commercial office renovation checklist should account for the following phases:
- Planning Phase: The first phase is the time for initial discussions, approvals, and budget confirmations.
- Design Phase: During the design phase, it’s time to hash out space planning, select materials, and finalize drawings.
- Pre-Construction Phase: Involved parties start ordering materials, pulling permits, and mobilizing contractors.
- Construction Phase: The construction phase marks the actual build or renovation work.
- Close-Out Phase: In the close-out phase, final inspections, punch list walkthroughs, and reoccupancy are addressed.
Set milestones and deadlines, but also account for inevitable delays due to weather, material lead times, or inspection schedules. Padding your timeline upfront is far less painful than explaining delays to your staff later.
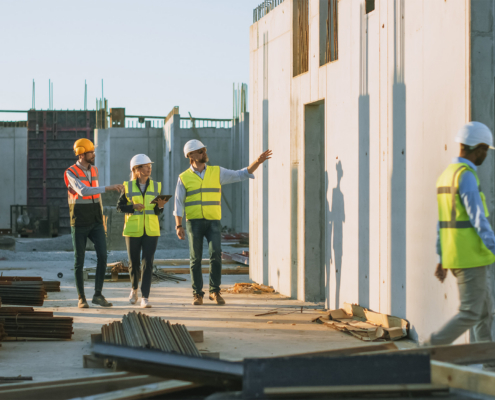
Step 4. Select the Right Renovation Contractor
A successful project hinges on the team behind it. Choose a renovation contractor with a proven track record in commercial work, especially in your market or region. Key things to consider:
- Do they understand the unique needs of your industry?
- Are they licensed, insured, and familiar with local codes?
- Can they provide a detailed project plan and timeline?
- Do they offer end-to-end project management, or will you be juggling multiple vendors?
Look beyond the bid number—choose a partner that prioritizes transparency, communication, and execution. You’ll be working closely with them throughout, so make sure trust is built in from day one.
Step 5. Secure Permits and Understand Local Regulations
Compliance isn’t optional. Depending on the scope of your renovation, you may need zoning approvals, building permits, environmental assessments, and fire and safety inspections. Your contractor or project manager should handle most of this, but don’t assume—double-check timelines and lead times for permits. Skipping this step can lead to costly delays or even project shutdowns.
Are you planning a renovation for multiple commercial office locations? Don’t let the challenges get the best of you! From logistical obstacles to budget limitations, understand the main challenges that property managers encounter and get expert solutions to overcome them.
Step 6. Develop a Communication Plan for Your Team
Your employees are the ones who live and work in the space—so keeping them informed throughout the renovation process is critical. Start by announcing the project early, making sure to explain not just what’s happening but why. When employees understand the purpose behind a renovation—whether it’s to improve workflow, accommodate growth, or enhance comfort—they’re more likely to embrace the temporary inconveniences that come with it.
Share anticipated timelines, how daily operations might be affected, and the steps being taken to maintain a safe and functional environment. Use consistent communication channels such as email updates or briefings to keep everyone aligned. Assigning a point of contact within your organization also helps ensure that questions and concerns are addressed quickly and clearly. When your team feels looped in and supported, they’re more adaptable—and far more patient when construction noise competes with Zoom meetings.
Step 7. Plan for Minimal Disruption
Renovations don’t have to grind your operations to a halt. Thoughtful office renovation planning should include strategies to maintain productivity. For example, focusing on phased construction, or otherwise tackling the renovation in sections, keeps parts of the office as usable spaces. This makes it easier to set of temporary workspaces so that alternate areas can be used if certain zones are off-limites.
Additionally, as businesses are embracing remote work more than ever, implementing flexible work policies and alternate shift schedules helps to reduce crowding. Less crowding, sound barriers, and construction work in the evening also helps to mitigate noise control during peak hours.
Overall, a well-executed renovation should feel like a natural evolution—not an interruption.
Step 8. Select Finishes, Fixtures, and Equipment
Once construction begins, things move fast. Avoid delays by selecting finishes, furniture, and equipment early in the process. Think:
- Flooring, lighting, paint colors
- Workstations, seating, conference tables
- AV equipment, security systems, and storage solutions
Make sure your selections are functional, aligned with your brand, and durable enough for commercial use. For example, the finishes in a Class A office will differ significantly from those in a Class C space. Define what quality level suits your business both now and in five years.
Step 9. Conduct Regular Walkthroughs
Site visits aren’t just ceremonial. Walking the space regularly ensures work aligns with the plan, errors are caught early, and decisions can be made on the fly.
Include stakeholders during key milestones, including framing, rough-ins, and finishes, to avoid backtracking.
Document progress with photos and notes. These become invaluable when comparing against punch lists or warranty issues later.
Step 10. Plan the Reentry Process
Once construction wraps, plan how your team will transition back into the space. Take the following steps:
1. Schedule a deep clean before move-in.
2. Test all systems—HVAC, lighting, tech, and security.
3. Communicate move-in dates and any new office protocols.
4. Celebrate the transformation and acknowledge the team’s patience.
Reentry should feel like a fresh start, not a scramble. Make it smooth, and you’ll start seeing ROI faster than expected.
Frequently Asked Questions
How much time should I allocate for planning an office renovation?
That depends on the complexity of the project. A minor refresh might require just a few days of planning, while a full-scale redesign could take up to three months—or more. Consider the size of your space, the number of stakeholders involved, and how much structural or design work is needed before breaking ground.
What should be included in a renovation budget?
It comes down to scope and standards. Are you renovating just the reception area or every floor? Do you want premium finishes (Class A), or are mid-tier materials more appropriate (Class B or C)? Don’t forget to factor in infrastructure upgrades like electrical, HVAC, and IT, especially if you’re updating the entire space.
How can I select the right contractor for my project?
Think beyond price. Choose a partner who is honest, reliable, and committed to delivering on schedule. Look for someone who asks thoughtful questions, offers detailed proposals, and has a track record of success in commercial renovations similar to yours. Transparency and responsiveness are non-negotiable.
Partner With a Proven Leader in Commercial Renovation
Whether interior or exterior renovations, these projects are never plug-and-play. But with the right plan, the right partner, and the right mindset, they don’t have to be a source of stress. Whether you’re managing one location or a network of commercial spaces, having a solid commercial office renovation checklist keeps your project moving in the right direction.
If you’re preparing for your own transformation, Capital Construction Group is here to help. Schedule a consultation or explore our additional planning resources to get started.
https://capitalconstructiongrp.com/wp-content/uploads/2026/02/The-Complete-Guide-to-Hiring-a-General-Contractor-for-Commercial-Construction-Projects.jpg
1250
2000
Abstrakt Marketing
/wp-content/uploads/2024/10/ccg_blue_transparent.png
Abstrakt Marketing2026-02-23 11:12:132026-03-13 13:23:52The Complete Guide to Hiring a General Contractor for Commercial Construction Projects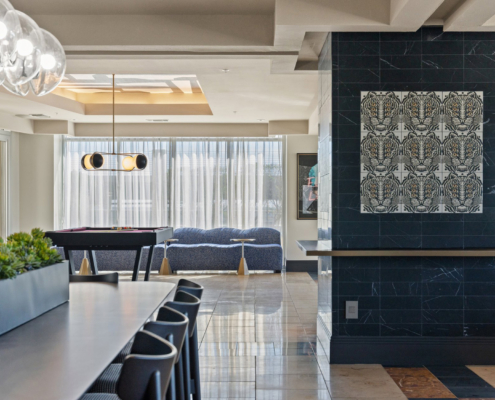 https://capitalconstructiongrp.com/wp-content/uploads/2025/03/Austin-Construction-Service-Solutions-for-Every-Industry.jpg
1250
2000
Abstrakt Marketing
/wp-content/uploads/2024/10/ccg_blue_transparent.png
Abstrakt Marketing2025-05-22 08:55:422026-03-13 13:23:56The 5 Most Important Upgrades for Increasing Multifamily Property Value
https://capitalconstructiongrp.com/wp-content/uploads/2025/03/Austin-Construction-Service-Solutions-for-Every-Industry.jpg
1250
2000
Abstrakt Marketing
/wp-content/uploads/2024/10/ccg_blue_transparent.png
Abstrakt Marketing2025-05-22 08:55:422026-03-13 13:23:56The 5 Most Important Upgrades for Increasing Multifamily Property Value https://capitalconstructiongrp.com/wp-content/uploads/2025/05/The-6-Stages-of-a-Successful-Commercial-Office-Renovation-Plan.jpg
1250
2000
Abstrakt Marketing
/wp-content/uploads/2024/10/ccg_blue_transparent.png
Abstrakt Marketing2025-05-22 08:49:012026-03-13 13:23:56The 6 Stages of a Successful Commercial Office Renovation Plan
https://capitalconstructiongrp.com/wp-content/uploads/2025/05/The-6-Stages-of-a-Successful-Commercial-Office-Renovation-Plan.jpg
1250
2000
Abstrakt Marketing
/wp-content/uploads/2024/10/ccg_blue_transparent.png
Abstrakt Marketing2025-05-22 08:49:012026-03-13 13:23:56The 6 Stages of a Successful Commercial Office Renovation Plan https://capitalconstructiongrp.com/wp-content/uploads/2024/11/Comercial-building-with-landscaping-in-front.jpg
1250
2000
Abstrakt Marketing
/wp-content/uploads/2024/10/ccg_blue_transparent.png
Abstrakt Marketing2025-05-22 08:34:092026-03-13 13:23:56Common Office Renovation Mistakes to Avoid in Your Project
https://capitalconstructiongrp.com/wp-content/uploads/2024/11/Comercial-building-with-landscaping-in-front.jpg
1250
2000
Abstrakt Marketing
/wp-content/uploads/2024/10/ccg_blue_transparent.png
Abstrakt Marketing2025-05-22 08:34:092026-03-13 13:23:56Common Office Renovation Mistakes to Avoid in Your Project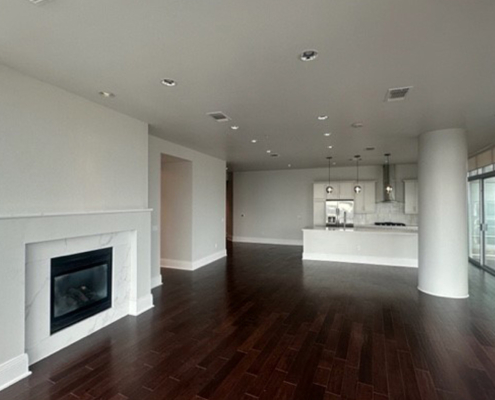 https://capitalconstructiongrp.com/wp-content/uploads/2025/04/How-Multifamily-Interior-Renovation-Costs-are-Determined.jpg
1250
2000
Abstrakt Marketing
/wp-content/uploads/2024/10/ccg_blue_transparent.png
Abstrakt Marketing2025-04-22 14:03:212026-03-13 13:23:56How Multifamily Interior Renovation Costs are Determined
https://capitalconstructiongrp.com/wp-content/uploads/2025/04/How-Multifamily-Interior-Renovation-Costs-are-Determined.jpg
1250
2000
Abstrakt Marketing
/wp-content/uploads/2024/10/ccg_blue_transparent.png
Abstrakt Marketing2025-04-22 14:03:212026-03-13 13:23:56How Multifamily Interior Renovation Costs are Determined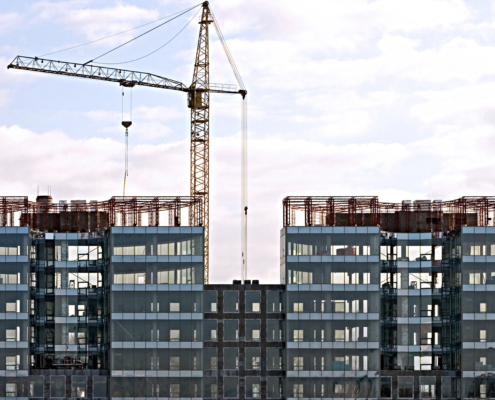 https://capitalconstructiongrp.com/wp-content/uploads/2025/04/How-to-Choose-a-Partner-for-a-Multi-Site-Commercial-Office-Renovation.jpg
1250
2000
Abstrakt Marketing
/wp-content/uploads/2024/10/ccg_blue_transparent.png
Abstrakt Marketing2025-04-22 13:54:062026-03-13 13:23:57How to Choose a Partner for a Multi-Site Commercial Office Renovation
https://capitalconstructiongrp.com/wp-content/uploads/2025/04/How-to-Choose-a-Partner-for-a-Multi-Site-Commercial-Office-Renovation.jpg
1250
2000
Abstrakt Marketing
/wp-content/uploads/2024/10/ccg_blue_transparent.png
Abstrakt Marketing2025-04-22 13:54:062026-03-13 13:23:57How to Choose a Partner for a Multi-Site Commercial Office Renovation https://capitalconstructiongrp.com/wp-content/uploads/2025/02/Two-people-in-office-looking-over-floorplan-on-computer.jpg
1250
2000
Abstrakt Marketing
/wp-content/uploads/2024/10/ccg_blue_transparent.png
Abstrakt Marketing2025-02-25 14:38:562026-03-13 13:23:57The Benefits of Office Renovations for Commercial Buildings
https://capitalconstructiongrp.com/wp-content/uploads/2025/02/Two-people-in-office-looking-over-floorplan-on-computer.jpg
1250
2000
Abstrakt Marketing
/wp-content/uploads/2024/10/ccg_blue_transparent.png
Abstrakt Marketing2025-02-25 14:38:562026-03-13 13:23:57The Benefits of Office Renovations for Commercial Buildings https://capitalconstructiongrp.com/wp-content/uploads/2024/10/29-web-or-mls-AR509356.jpeg
1365
2048
Abstrakt Marketing
/wp-content/uploads/2024/10/ccg_blue_transparent.png
Abstrakt Marketing2025-02-25 14:29:012026-03-13 13:23:57The Top Challenges of Commercial Office Renovation and How To Solve Them
https://capitalconstructiongrp.com/wp-content/uploads/2024/10/29-web-or-mls-AR509356.jpeg
1365
2048
Abstrakt Marketing
/wp-content/uploads/2024/10/ccg_blue_transparent.png
Abstrakt Marketing2025-02-25 14:29:012026-03-13 13:23:57The Top Challenges of Commercial Office Renovation and How To Solve Them